You can upload self-produced content (videos and audio files) to the service and share content with others via a link or embed code, for example in Canvas. Kaltura also includes a screen capture application, Kaltura Capture, which lets you record your computer screen, your own video and audio. With Kaltura Express Capture you can record your video and audio via the browser, but not the screen.
You can do light editing of videos in Kaltura. For example, you can trim a piece off the beginning and the end. In the editor you can add subtitles to the video.
With the service you can:
- Upload videos, images and audio files to the service and set viewing rights (private, unlisted, public)
- Create screen capture videos
- Attach questions to videos that students and teachers can use to assess competence
- You can attach files to media and allow likes and comments
- Analytics are available for video statistics
- Videos can be linked to and embedded in other systems.
- Zoom cloud recordings are saved to the Kaltura service
The service is freely available to Laurea staff and students who sign in with Haka.
Uploading a video to the video.laurea.fi service
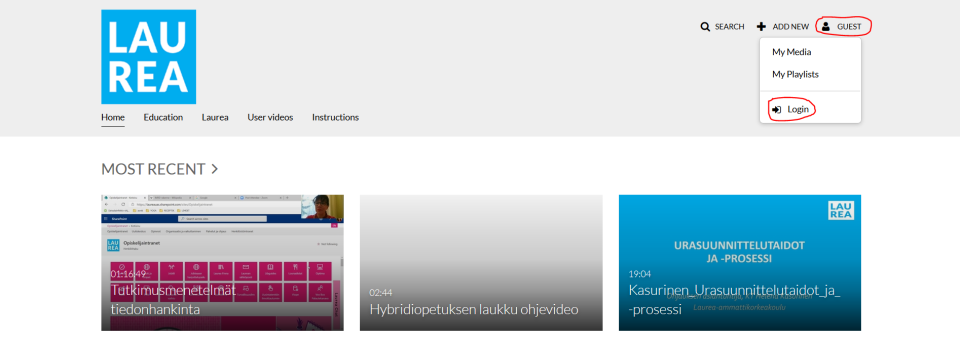
1. Sign in to the service at video.laurea.fi
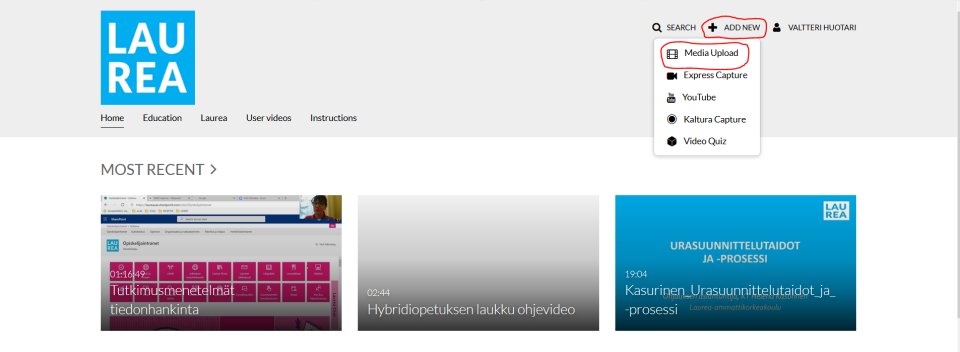
2. Select “Add New” and “Media Upload”
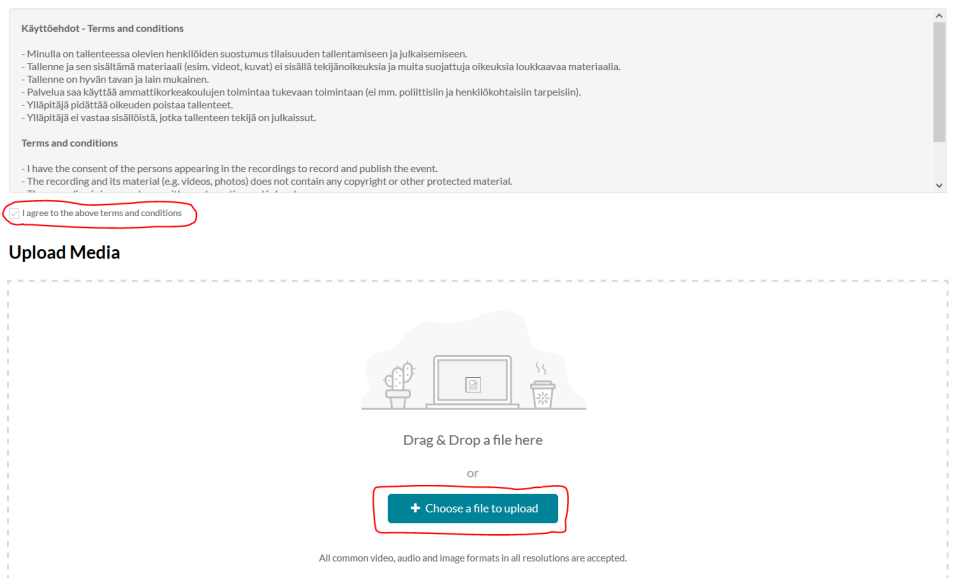
3. Accept the terms of use and choose the file to upload
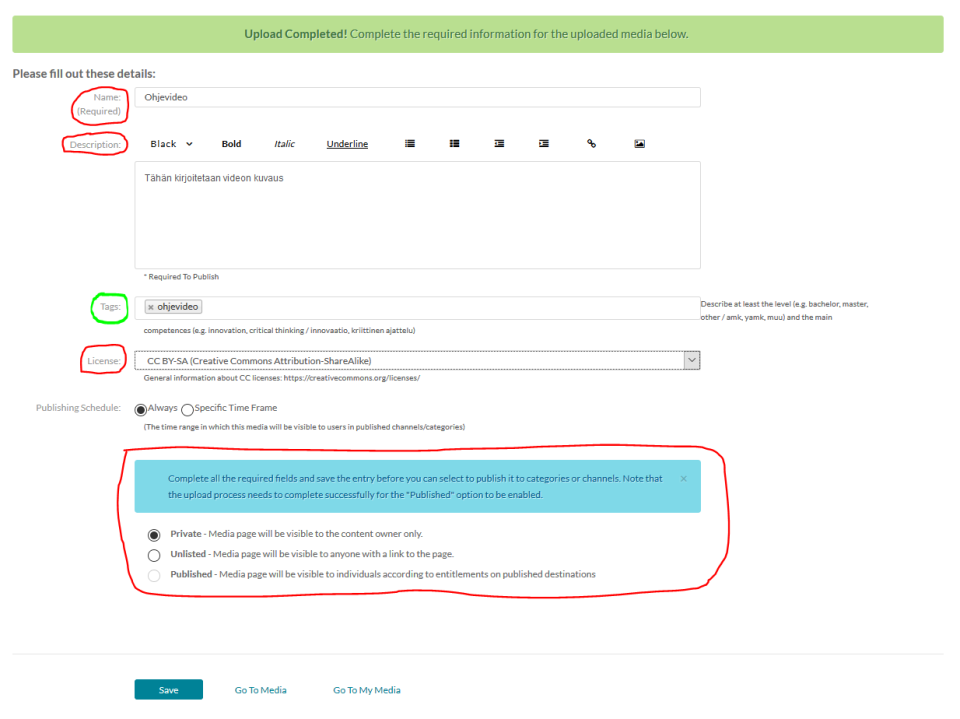
4. Fill in the required information and save the changes
Fields marked in red are mandatory and those marked in green are recommended to fill in. Fields marked in green are mandatory if you want your video to be public “Published”
CC BY-SA belongs to Laurea
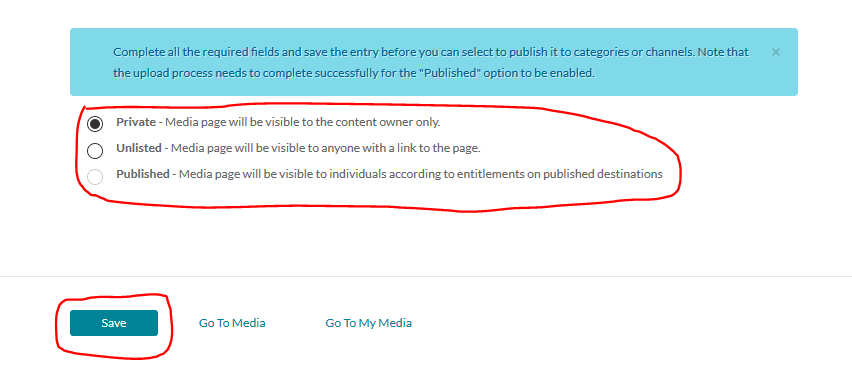
5. Choose how you want to share the video
You can select the video’s sharing settings from the bottom of the page.
- “Private” does not show the video to anyone other than the uploader
- “Unlisted” allows sharing with others via a share link
- “Published” makes the video public to everyone. The video can also be seen outside the Laurea organization
You can later edit the publish settings from the video’s viewing page via the “Publish” function found in the “Actions” menu.
Finally, you can save the video using the “Save” button.
6. After saving, you can go to the video’s viewing page via the “Go to Media” button.

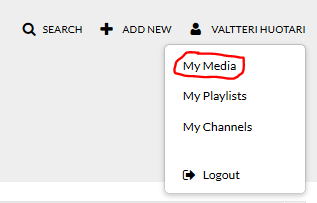
The video can also be found under your profile in the “My Media” section, where all media files you have uploaded to video.laurea.fi are stored.
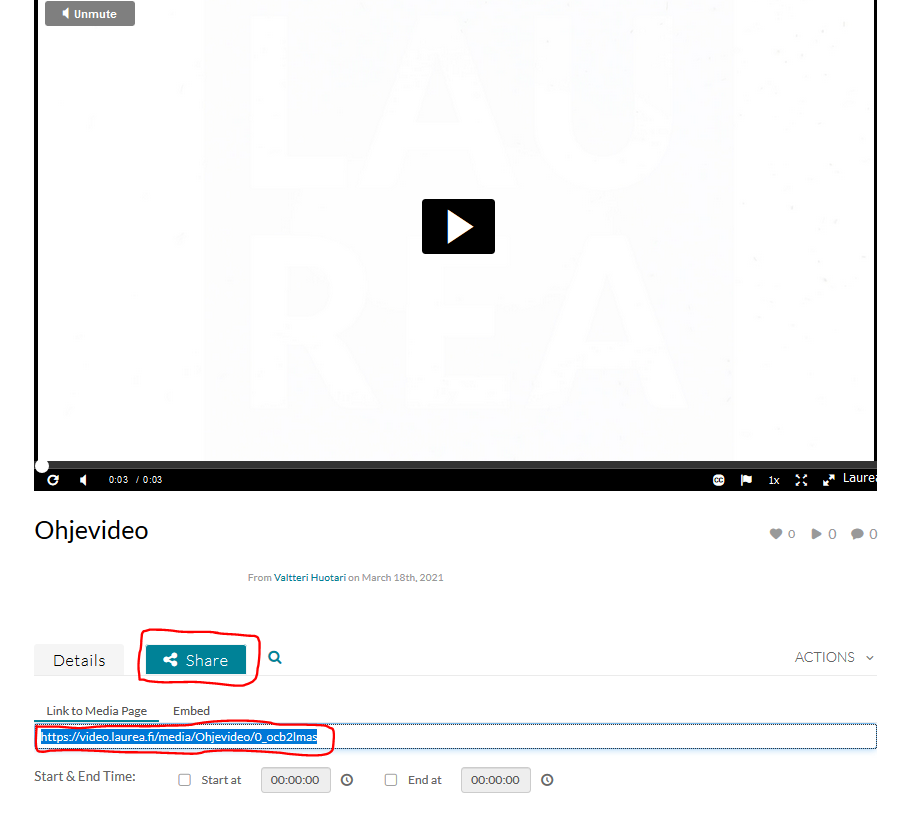
7. Select the “Share” button on your video’s viewing page and copy the link
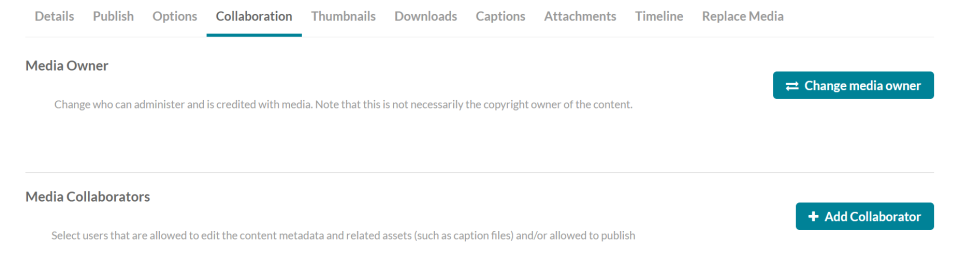
Sharing ownership of a video with multiple people
You can share ownership of a video with multiple people.
- If you are graduating or leaving Laurea and the video should remain under someone’s profile, for example a thesis or project video used in teaching, etc.
Open the video. Select Actions – edit.
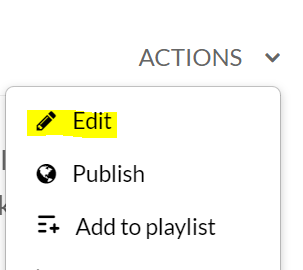
Select the desired option.
- Change the video’s owner (change media owner)
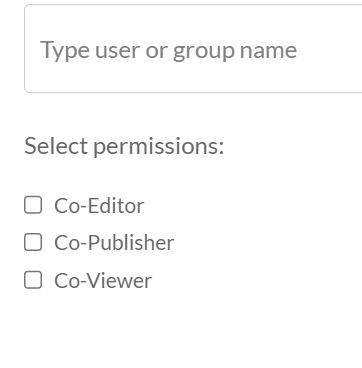
- Add collaborative owners (add collaborator)