Laurea Sign – an easy way to sign documents
Laurea Sign is a service that allows you to sign various documents, such as agreements or powers of attorney, electronically. The service is available to all Laurea students and staff.
How to log in to the service
- Laurea students and staff: Login works automatically with Laurea credentials (SSO).
- External signers: Use secure two-step authentication (email + SMS).
- If necessary, identification can also be done using strong authentication
Is the signature official?
Yes. Signatures made through Laurea Sign are legally binding, i.e. they are accepted in the same way as handwritten signatures.
Laurea Sign: instructions for the sender of a signature request
Laurea Sign service is used for signing documents at the stage when the document is in the signing phase.
- Before sending the signature request, make sure that the document can be signed electronically.
- Record the information about the electronic signature in the document. Remove phrases referring to printouts from the contract (for example “this contract has been prepared in two identical copies”).
- Obtain the email addresses and phone numbers of external signers before uploading the document to the service
Sender’s login
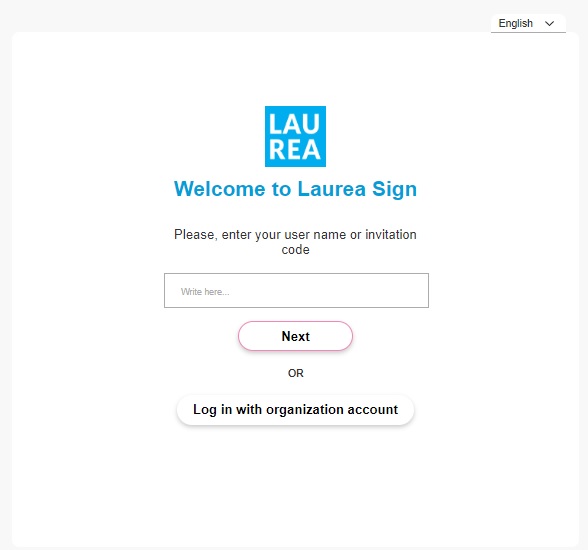
Log in to the Laurea Sign service at https://sign.laurea.fi
Laurea students log in with their Laurea credentials (log in with organization account). You do NOT need to add a username.
Creating a signature request
Step 1: Starting to send a signature request
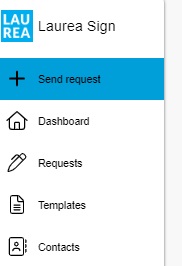
Start creating new signing request at Dashboard by selecting “Send a new signing request”
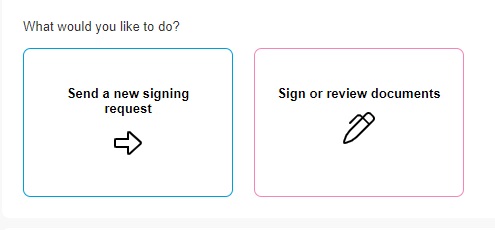
or from the left sidebar “+ Send request”. Both buttons lead to the same place.
Step 2: Fill in the basic details of the signature request
- Name of the signature request (title of the signature that appears in the email)
- Deadline (add a deadline for the request if desired; the signature can also be made after the deadline)
- Reminder message (add an automatic email reminder before the deadline if desired)
- Combine documents (combines documents into a single PDF file after signatures instead of separate files)
- Confidentiality (specify if you want to hide the information from the main administrator)
- Authentication method to be used (specify authentication via the trust network if needed)
- Attach the documents to be signed (one document at a time)
- Add necessary attachments (one document at a time).
Documents can be previewed by clicking the magnifying glass.
Step 3: Choose recipients and fill in email addresses
Request message to the recipient
- You can add a message to the signature request: the message will appear in the signature request and on email notifications.
- You can save your standard messages as phrases: Phrases are saved at: “Settings – My Phrases”.
- You can also choose from already saved phrases.
Recipients
- If you are signing, you can add yourself by clicking the ‘+Add me’ button
- Choose recipients from contacts or fill email address for desired fields. Predictive input fetches the contact details of all Laurea members when you start typing a person’s name.
- When you add a person outside Laurea, type the recipient’s email address and press the ‘+Add people’ button that appears or ‘Enter’. Fill in the required information and double-check the phone number and email address.
- You can edit the details of added invited users by clicking the pencil or remove a recipient by clicking the red cross. Hovering over the user’s icon shows more information about the recipient (name, email, phone and title).
- You can optionally choose a case manager for the signature request who can co-manage the signature request with you and monitor its progress. An external person cannot be selected as a user.
- You can also choose a reader who will be informed about the agreement but will not sign the document. A read-only user can view the signature request details and download documents.
- If there are multiple recipients, you can specify whether they should sign in a particular order. The order is top-to-bottom; you can drag and drop added users into the desired order.
- In the additional settings you can also specify:
- Whether someone can reject this signature request
- How many recipients must accept or reject for the request to proceed automatically to the next step.
- Additional settings will not appear if there is only one signer
Step 4: Choose the signature layout
Select the layout of the document to be signed by first clicking the document. Then choose whether you want to define signature fields in the document yourself using drag drop -function or add a separate signature page. If you select “add signature fields to the document”, remember to assign and save fields for each document before going forward with the request.
- If you add a separate signature page, after collecting signatures the documents will be printed to PDF, locked and the package will include a separate signature page.
- If you add signature fields yourself to the document, its structure will not change.
- The fields you select should be dragged and dropped to the desired location in the document.
- Then click the added field and select from the list the user to whom the signature field is assigned. In addition to the signature, you can add, for example, the signer’s organization, job title and free text.
- Assigning a signature field is successful when the assigned user’s name appears in the signature field and the field also appears under the person in the right side panel. All recipients must have a signature field.
- Remember to click save.
Step 5: Summary
- This page is a summary of all the information filled in. Check the details and send.
- After sending, you can find the request under “Signature requests”. When all parties have signed, download and deliver the signed document to the agreed place for archiving. Once you have confirmed that the signers have also submitted the documents for archiving, delete the request and the associated documents.
Laurea Sign – Internal signing
Internal signer’s login and signing
Login
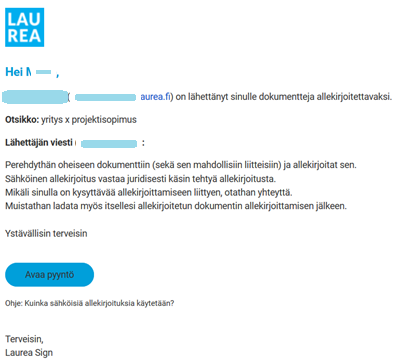
After receiving the signature invitation in your email, you can access the service by clicking the “Open document” link in the message.
Log in to the Laurea Sign service at https://sign.laurea.fi
Laurea students log in with their Laurea credentials. You do NOT need to add a username.
Signing
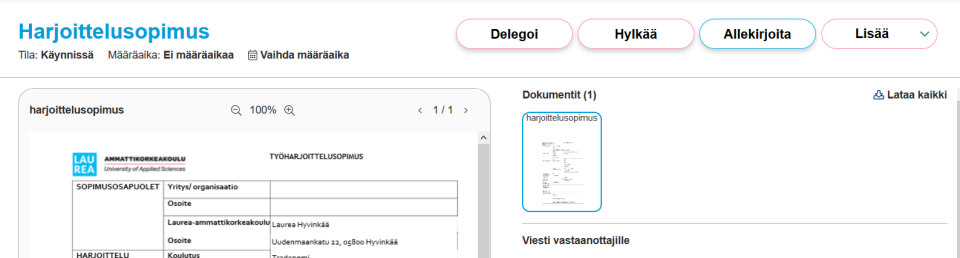
After logging in, you can view the documents included in the signature invitation and review them.
- You can sign the request by selecting “Sign”.
- You can reject the request by selecting “Reject”.
- You can leave a comment on the request at the bottom of the page.
- You can also, if necessary, delegate the request to another person.
- A notification of acceptance, rejection or delegation is sent to the sender of the signature invitation.
Finally, you will receive an email when the signing round is complete and you can retrieve the signed version from the service. The “Download all” button is located in the top right corner and packages all documents into a .zip file. You can also download an individual document as a PDF by selecting it and clicking “Download” under the document preview section.

Laurea Sign – External signer’s instructions
Logging in from the invitation and signing
Login
After receiving the signature invitation in your email, you can log in to the service by clicking the “Open request” button in the message or by following the instructions at the bottom of the email: “How are electronic signatures used?”
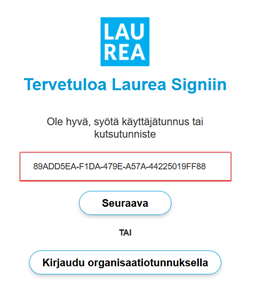
The invitation identifier should automatically appear in the login field if you arrive via the “Open request” button. Otherwise, copy the identifier from the email into the login field.
Click Next.
Please note, you do not need a username and password.
In addition to the invitation identifier, you must authenticate with a one-time PIN code sent by SMS or, if necessary, authenticate via online banking. If an SMS does not arrive on your phone, contact the sender of the signature request. If needed, the signature can also be made using the separate REKO mobile application.
After this, verify that the information is correct. If the information is incorrect, contact the sender of the signature request.
Signing
After logging in, you can view the documents included in the signature invitation and review them.
- You can sign the request by selecting “Sign”.
- You can reject the request by selecting “Reject”.
- You can leave a comment on the request at the bottom of the page.
- Additionally, you can delegate the request to another person if necessary.
- A notification of acceptance, rejection, or delegation is sent to the sender of the signature invitation.
Finally, you will receive an email when the signing round is complete and you can retrieve the signed version from the service. The “Download all” button is located in the top right corner and packages all documents into a .zip file. You can also download an individual document as a PDF by selecting it and clicking “Download” under the document preview section.
The signer does not receive the signature request email or SMS
Check whether there is an error in the signer’s email address or phone number. The main administrator can correct the incorrect contact information if necessary.
A verification message does not reach an international phone number
The problem may be due to international SMS routing agreements, causing the text message not to be delivered to a foreign phone number.
The main administrator can send the signer instructions for using the Reko mobile app, which can be used to identify the user in these situations with a separate code.
The signer cannot access the signing service
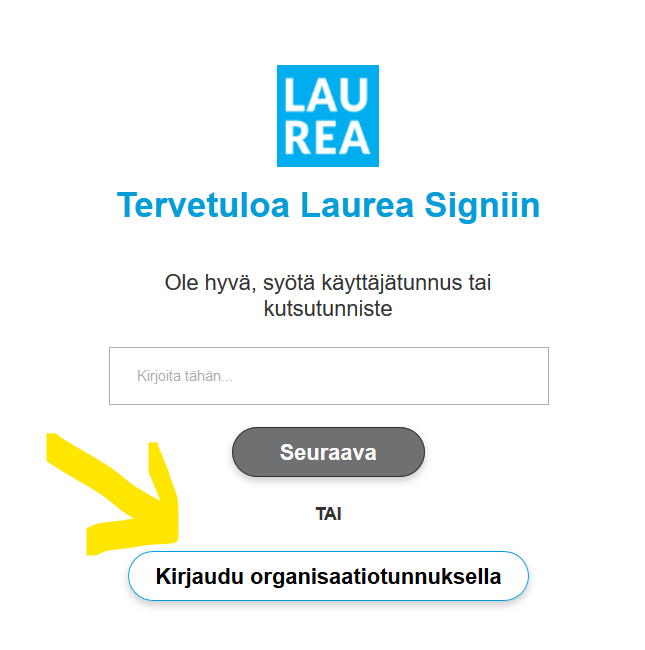
The most common issue is that an external signer has clicked the ‘Log in with organizational credentials’ button. This button should not be clicked; instead use the Next button below the invitation identifier.
If the invitation identifier has not been copied automatically, it can be copied from the email and pasted into the username/invitation identifier field.
If an internal Laurea signer has entered their username in the Username/invitation identifier field, they should not do this; instead they should click the ‘Log in with organizational credentials’ button.
The signature request has been accidentally sent to the wrong person
If the document has not yet been signed, you can cancel the signature request by selecting Sent signature requests and Incomplete from the front page. Open the signature request in question and choose Interrupt request, provide a reason for interruption and Interrupt request. Correct the signer information and send the signing round again.
Allekirjoituspalvelun tukipalvelusta löytyy myös muita ohjeita Useimmin kysytyt kysymykset -sivun alta